Farm Block Data
How to import blocks in bulk from a GIS file, adjust block headers, and export block data as CSV for editing and re-import.
Import blocks in bulk, adjust headers, export block data, and re-import new data.
#Import Blocks in Bulk
If you have your blocks in a GIS file (Shapefile or geojson are supported as of this writing) you can import them in bulk including any header data associated with each block.
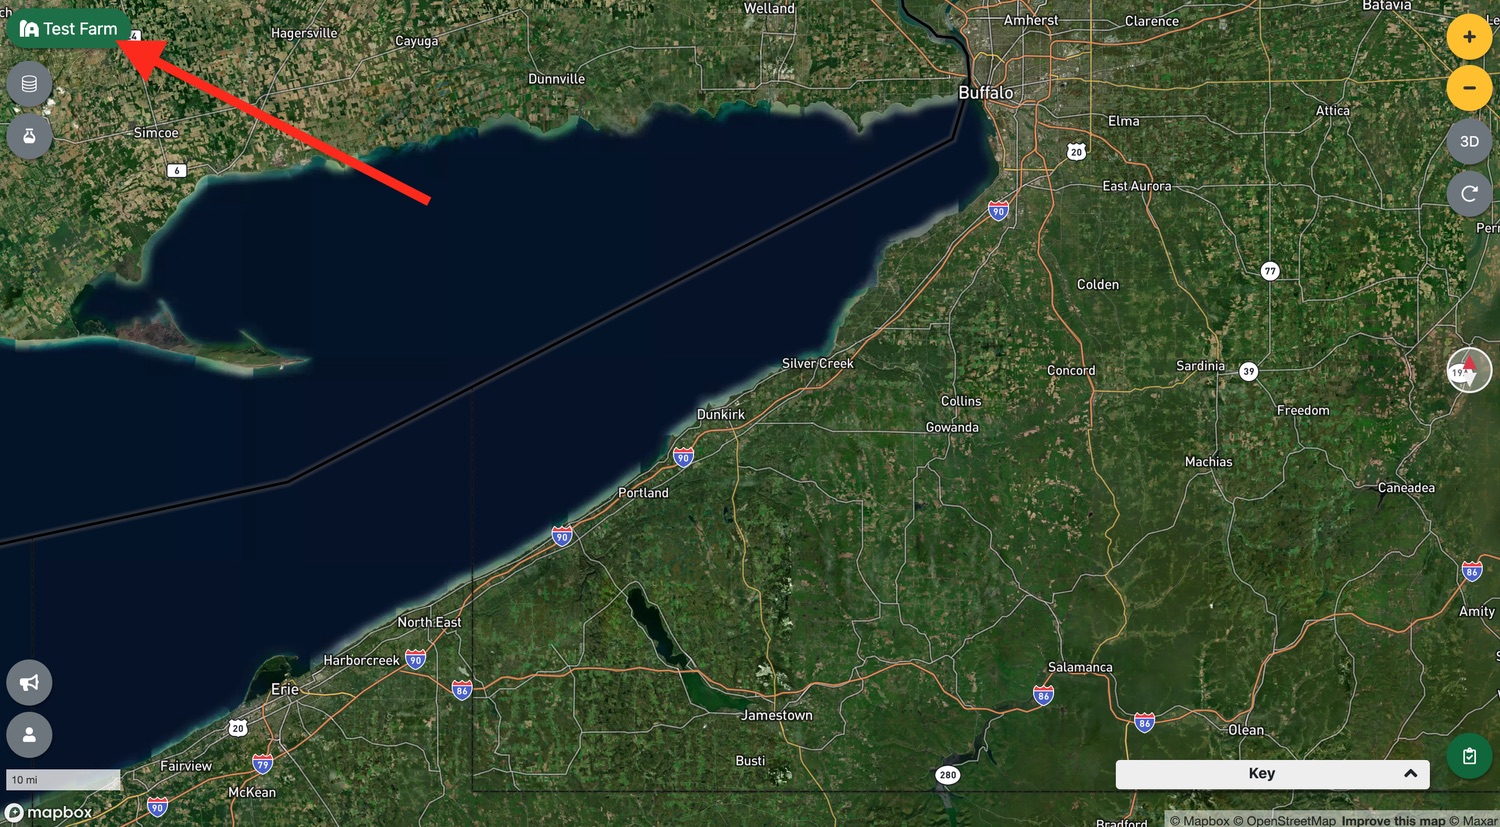
First, open your farm details drawer.
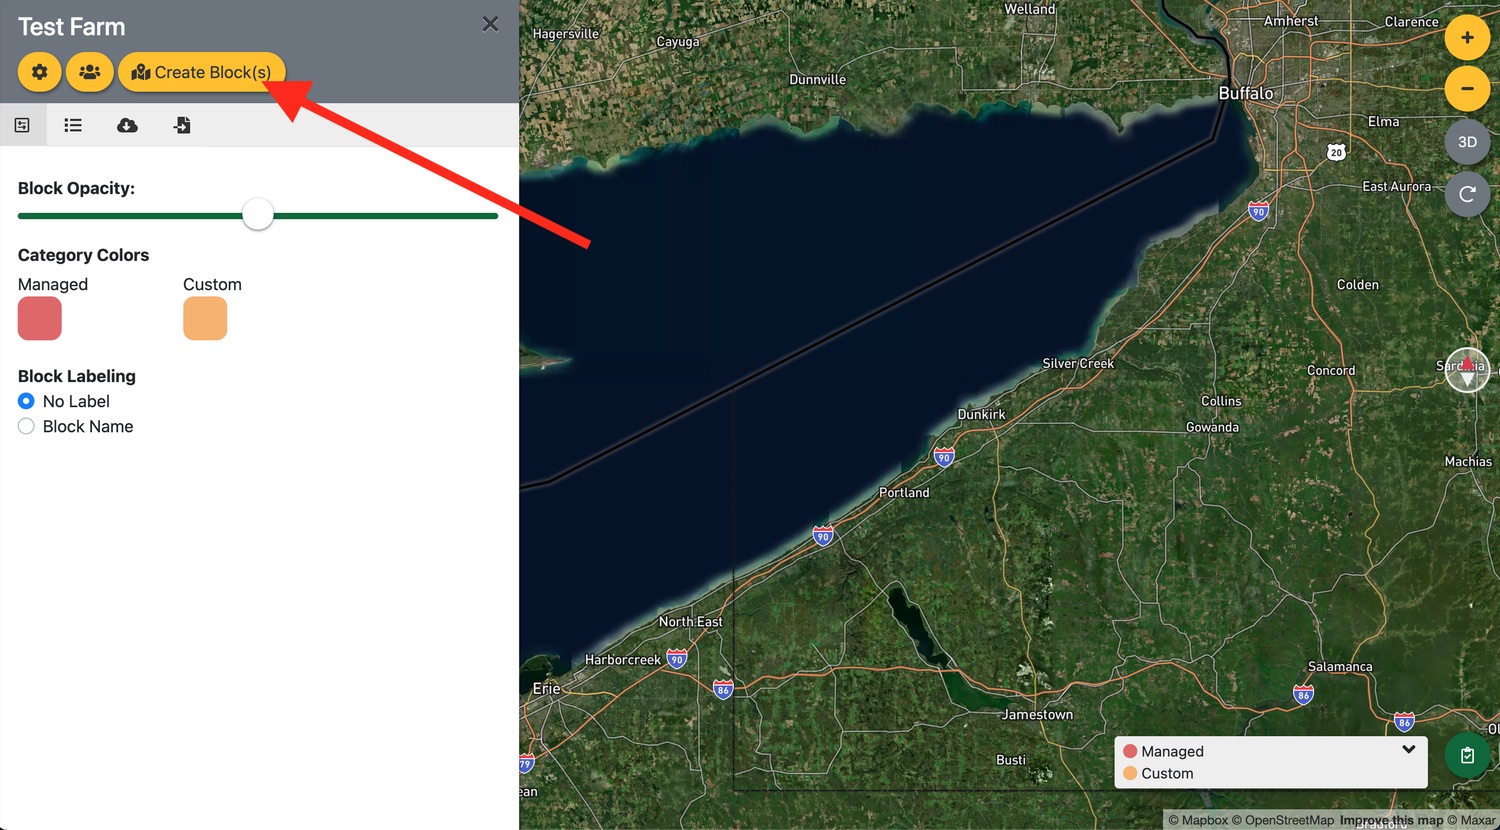
Then, click on the ‘Create Block(s)’ option.
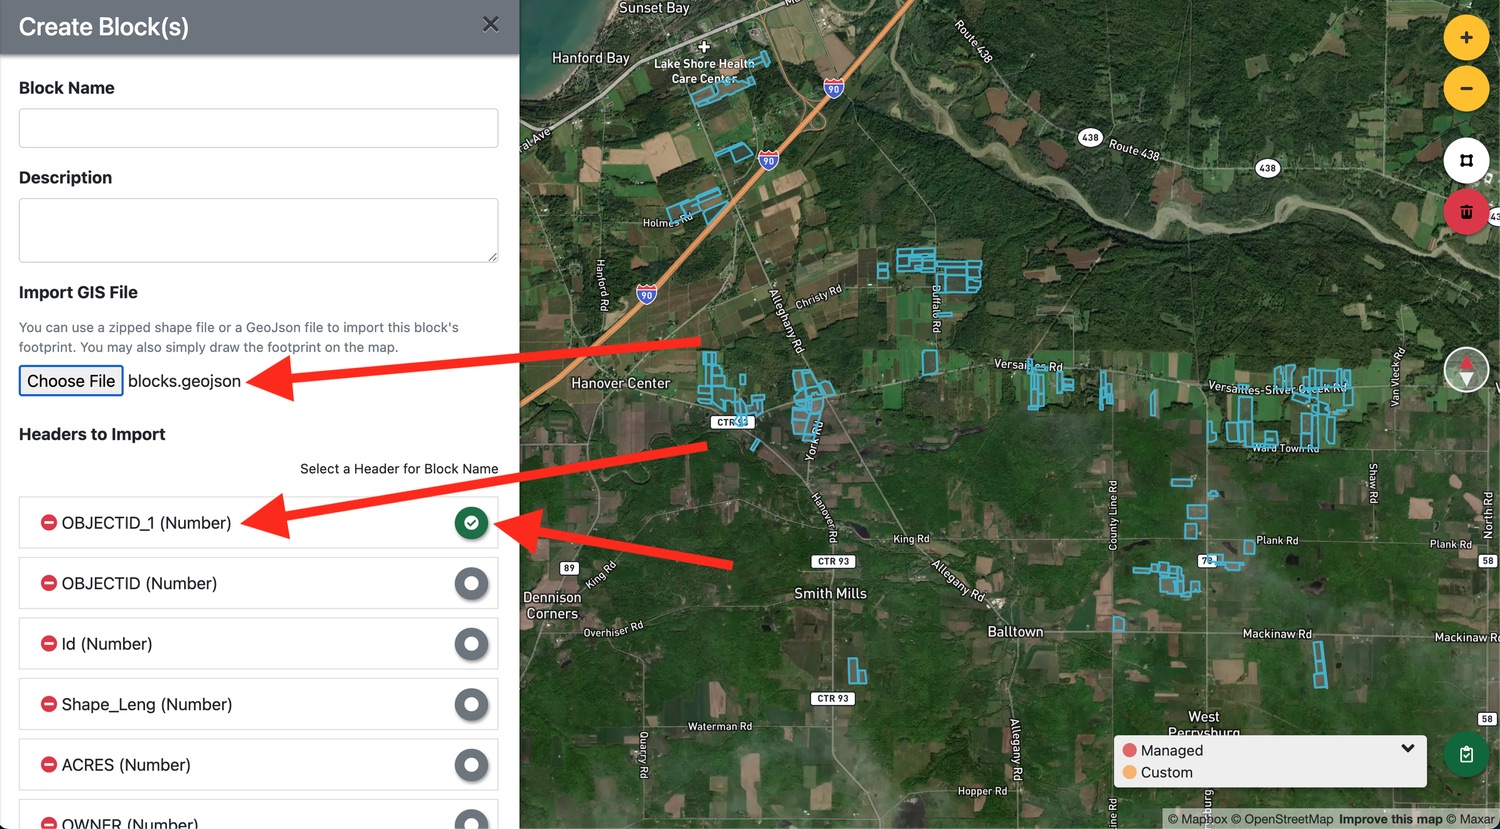
Use the ‘Choose File’ button under ‘Import GIS File’ to browse for your GIS file. Once selected, you’ll see headers listed below ‘Headers to Import’. You can remove headers that you don’t wish to import and/or select a header to use for block names. Once ready, scroll down and click ‘Submit’. Your blocks will be created.
#Adjust Block Headers
Every.Farm lets you adjust block headers on your farms.
Head back to your farm details drawer and click the ‘Settings’ cog.
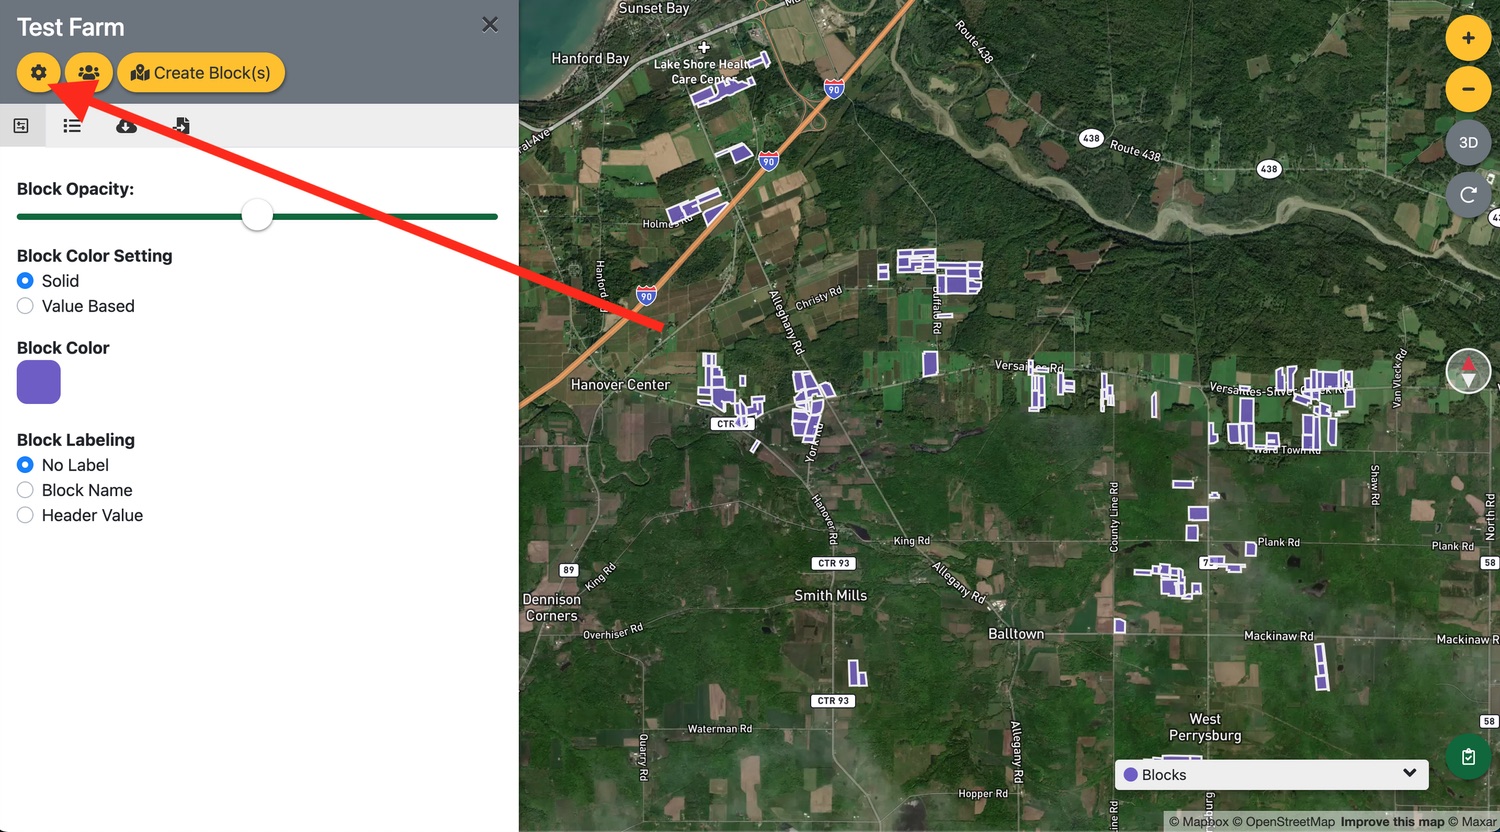
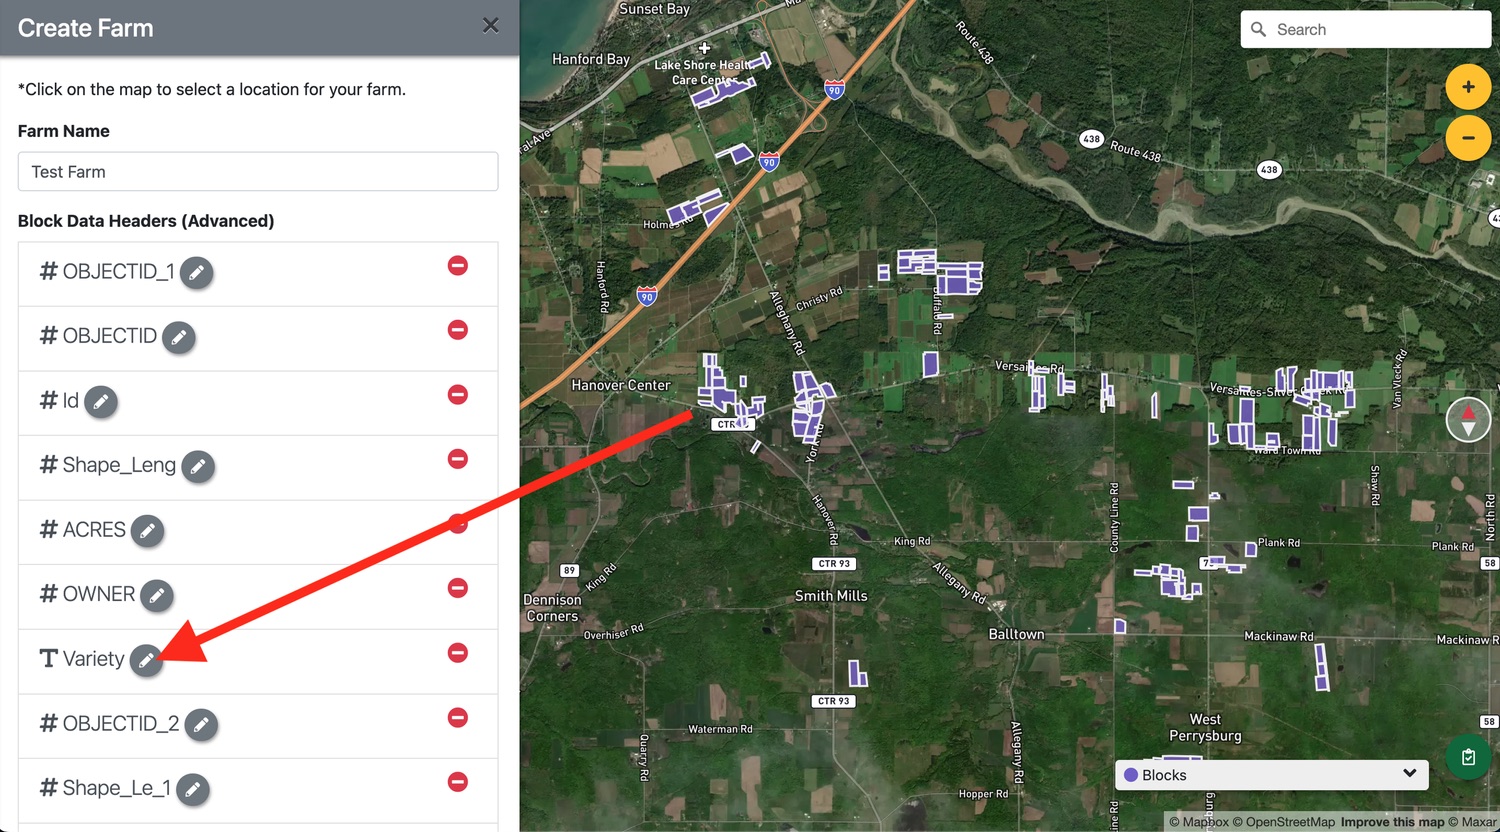
In here you’ll see the headers that exist on your farm blocks. In this example, you can see that ‘Variety’ is a ‘Text’ header. Let’s change that to a ‘Select’ header. First, click on the pencil icon near the header to edit its settings.
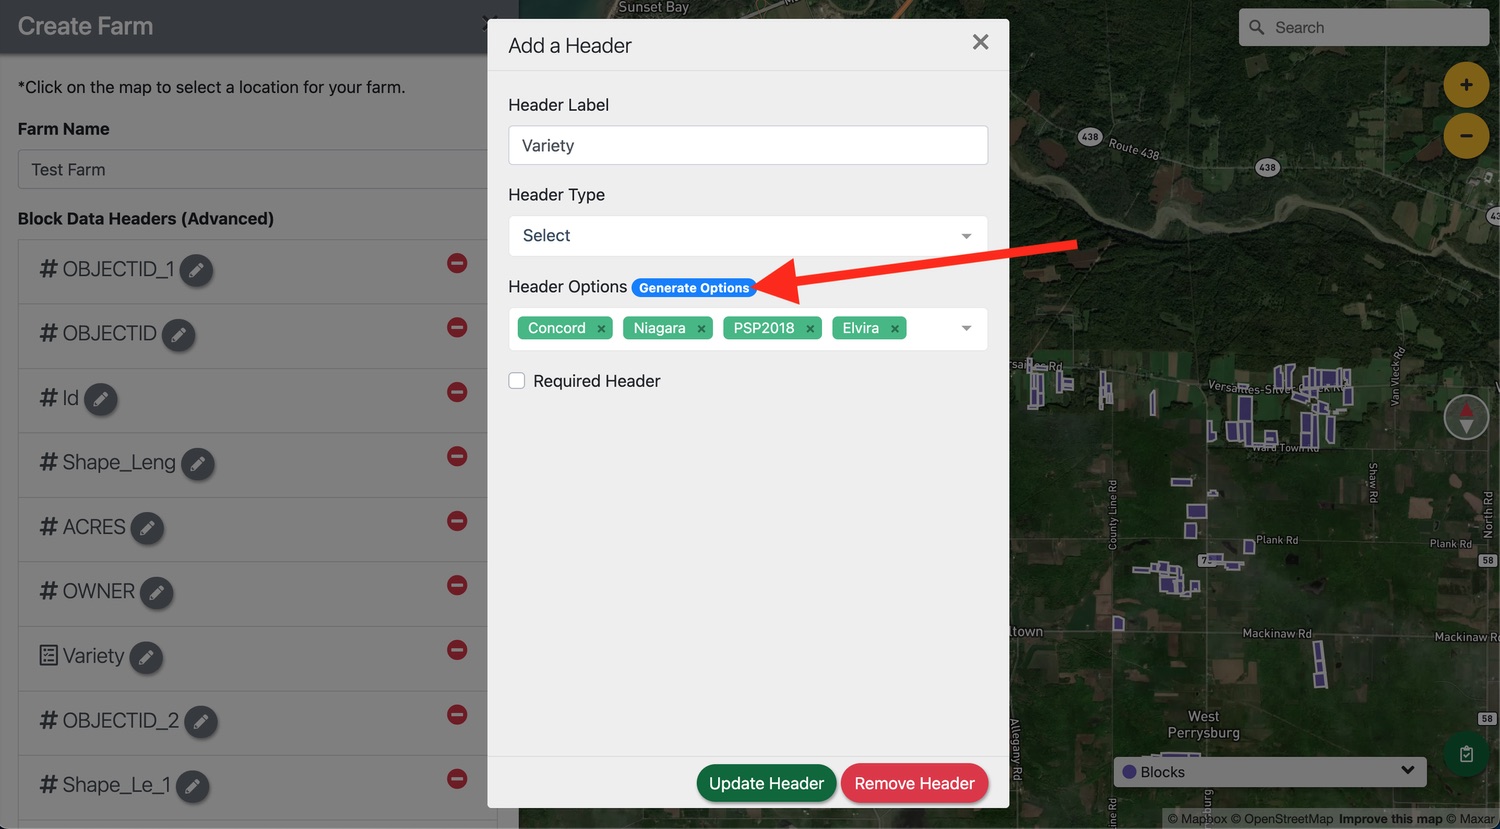
In here, we’ve adjusted the ‘Header Type’ to ‘Select’. At this point you can click the ‘Generate Options’ button to automatically create options from the existing data. ‘Update’ the header and save your farm to finalize the changes.
#Export Data, Make Adjustments, and Re-import it
Sometimes it’s easier to make adjustments to a lot of data using a spreadsheet program. Every.Farm lets you export your block data as a CSV file that can be edited and then imported to sync with your blocks. WARNING: This feature should be used with caution as it can override a lot of data in a short amount of time. Be sure to backup your data before making adjustments.
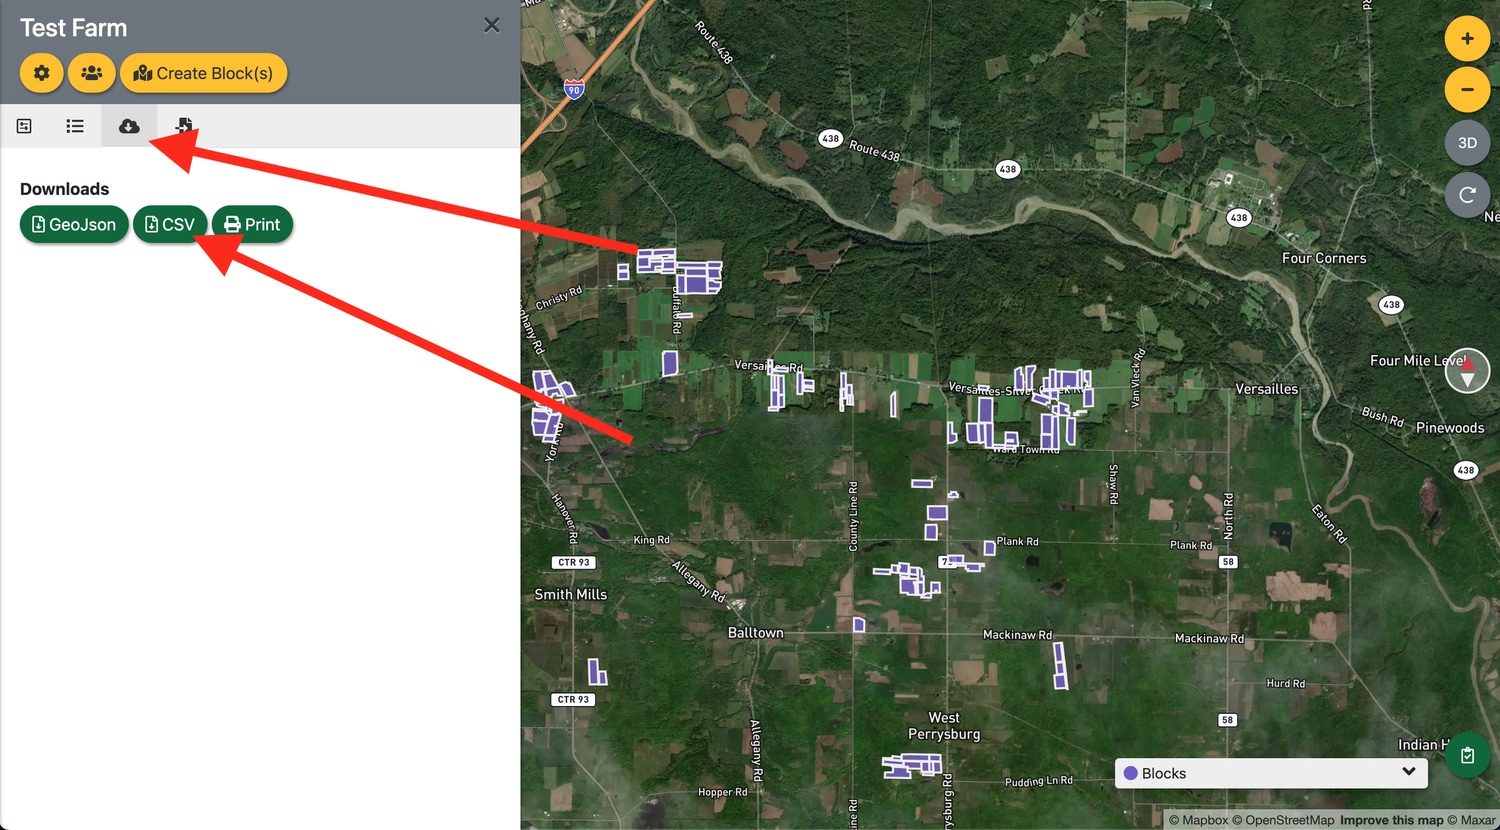
To start, go to your farm details drawer and select the ‘Downloads’ tab. Click the ‘CSV’ option.
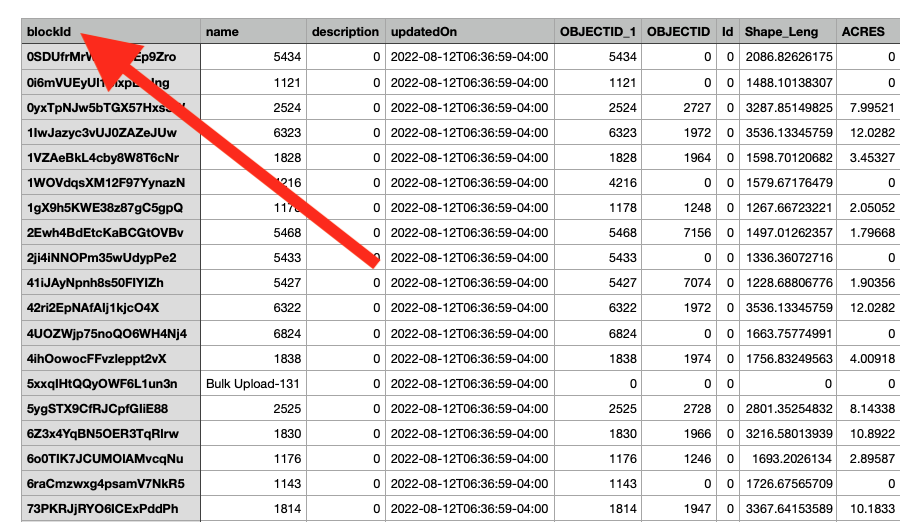
Open the CSV in your favorite spreadsheet program. The header row (top row) is used to sync subsequent values with your blocks. The ‘blockId’ column is particularly important as this is used to attach data to the proper block within Every.Farm. Adjust any data you want in this file. You can even add new header columns that will be recognized and added in the next step. When finished, save a new copy of the CSV.
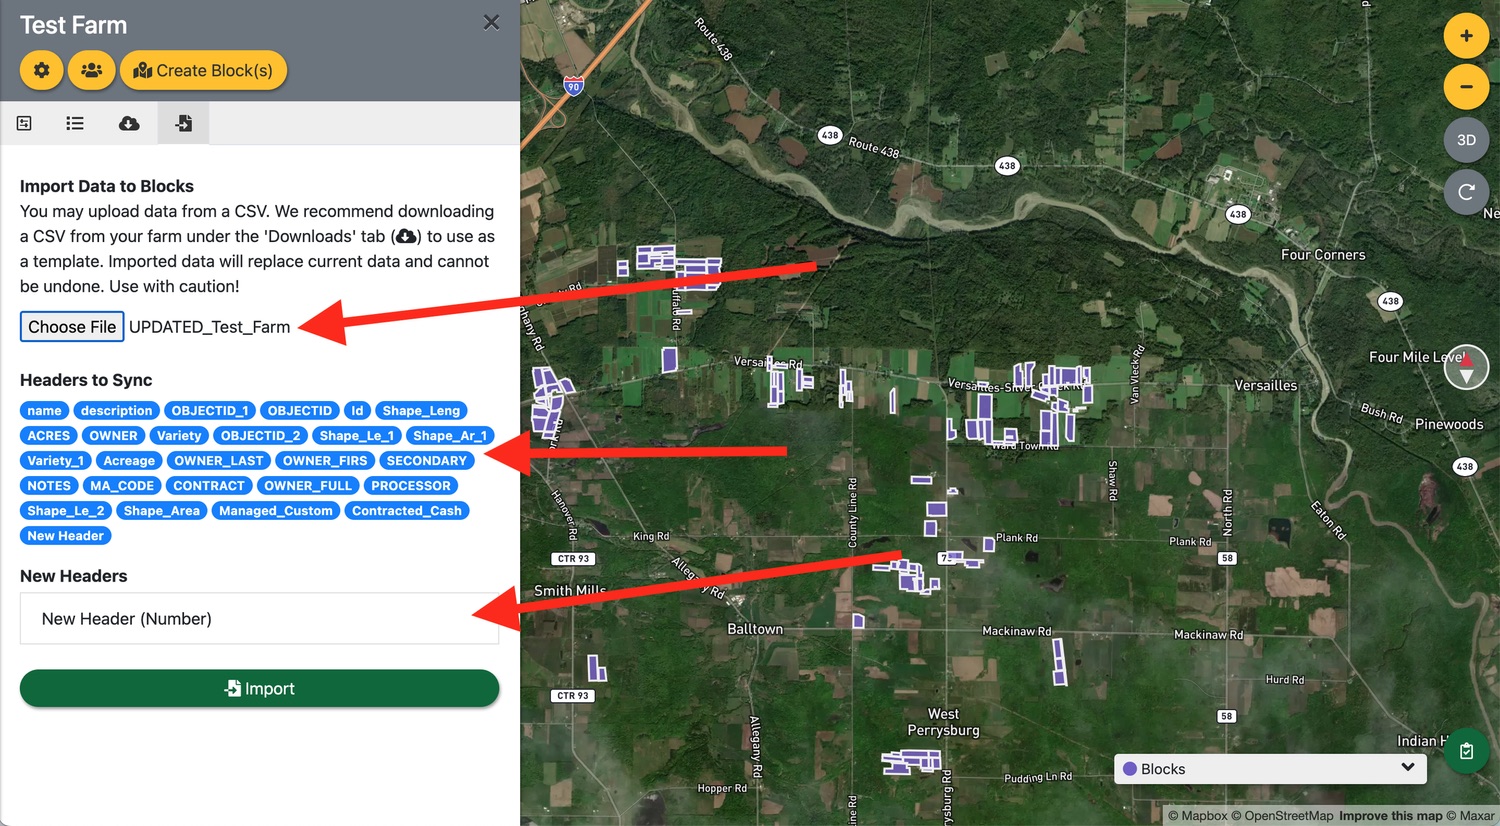
Go back to your farm details drawer and select the ‘Import’ tab. Use ‘Choose File’ under the ‘Import Data to Blocks’ section to select the new CSV we just created. Once selected, you’ll see existing ‘Headers to Sync’ as well as a list of any ‘New Headers’ that will be added. Click ‘Import’ and accept the prompt to sync your block data. This can take a few moments to complete.
Updated
Something missing or out of date? Tell us — the docs are updated with every release.